Did you know that a well-made tattoo stencil outline is key to a perfect tattoo? For beginners, making and using tattoo stencils can seem hard. But with the right skills, you can get pro results.
Learning to make tattoo stencils needs focus and practice. This guide will show you how to design, print, and apply tattoo stencil outlines like a pro.
Key Takeaways
- Understand the importance of a well-crafted tattoo stencil outline
- Learn how to design and print tattoo stencils
- Discover tips for applying tattoo stencil outlines flawlessly
- Master the techniques for creating professional-looking tattoo stencils
- Avoid common mistakes when creating and applying tattoo stencils
Understanding Tattoo Stencil Outlines
To master tattooing, knowing stencil outlines is key. Tattoo stencils are like blueprints for artists. They help place ink accurately and evenly on the skin.
What Are Tattoo Stencils and Why They’re Essential
Tattoo stencils are essential tools for artists. They ensure designs are precise and consistent. They’re great for detailed work and for those improving their freehand skills.
The Evolution of Tattoo Stencilling Techniques
Tattoo stencilling has changed a lot over time. From hand-drawn to digital methods, it’s now more precise and easier to use. Digital tools make editing and scaling designs simple.
Types of Tattoo Stencils for Different Styles
There are many types of tattoo stencils for various styles. These include:
- Freehand stencils for custom, unique designs
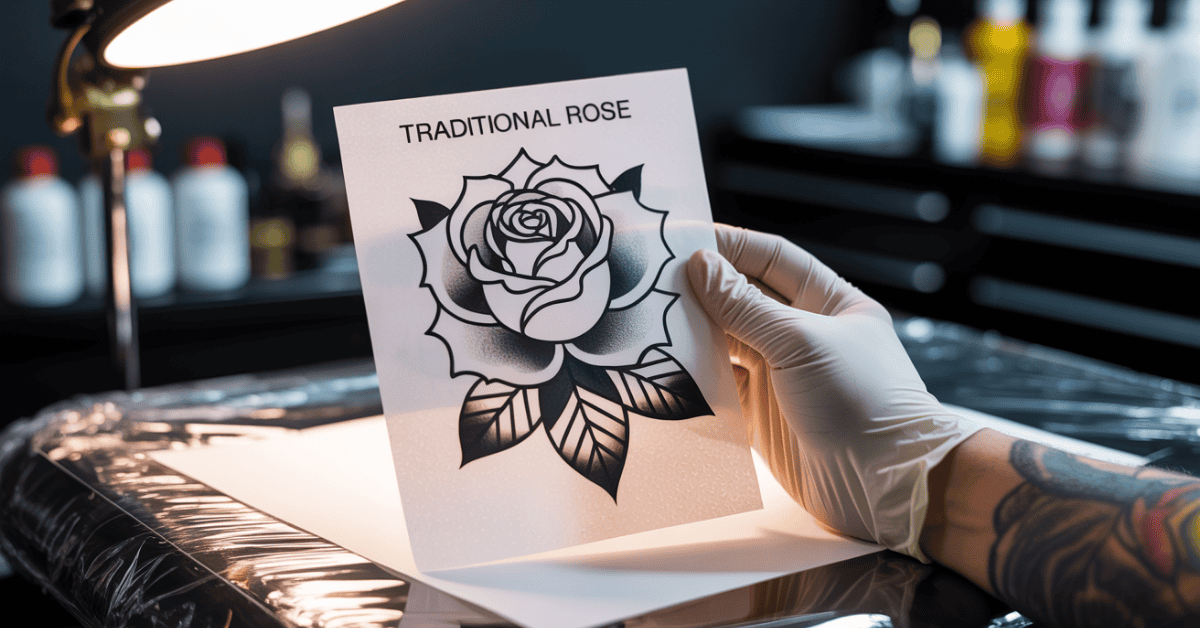
- Pre-made stencils for traditional and common designs
- Digital stencils for precision and ease of editing
Choosing the right stencil depends on the artist’s style and the client’s wishes.
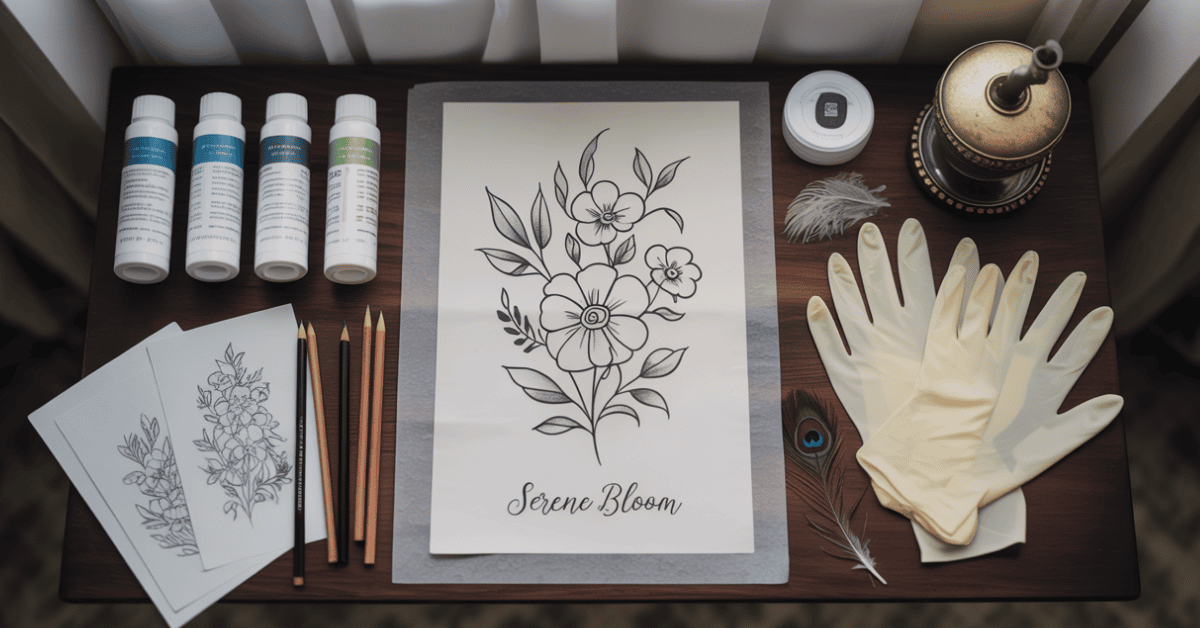
Essential Tools and Materials for Creating Tattoo Stencil Outlines
To make top-notch tattoo stencils, you need the right tools and materials. The right gear is key to making stencils that look great on the skin.
Stencil Papers and Transfer Mediums
The base of a good tattoo stencil is the paper and transfer medium. Stencil papers are thin and strong, perfect for tracing and transferring. Brands like ThermaPro and Stencil Stuff are popular. Transfer mediums, like stencil gel or thermal fluid, help stick the stencil to the skin.
| Material | Description | Brand Example |
|---|---|---|
| Stencil Paper | Thin, durable paper for tracing designs | ThermaPro |
| Transfer Medium | Gel or fluid for applying a stencil to the skin | Stencil Stuff |
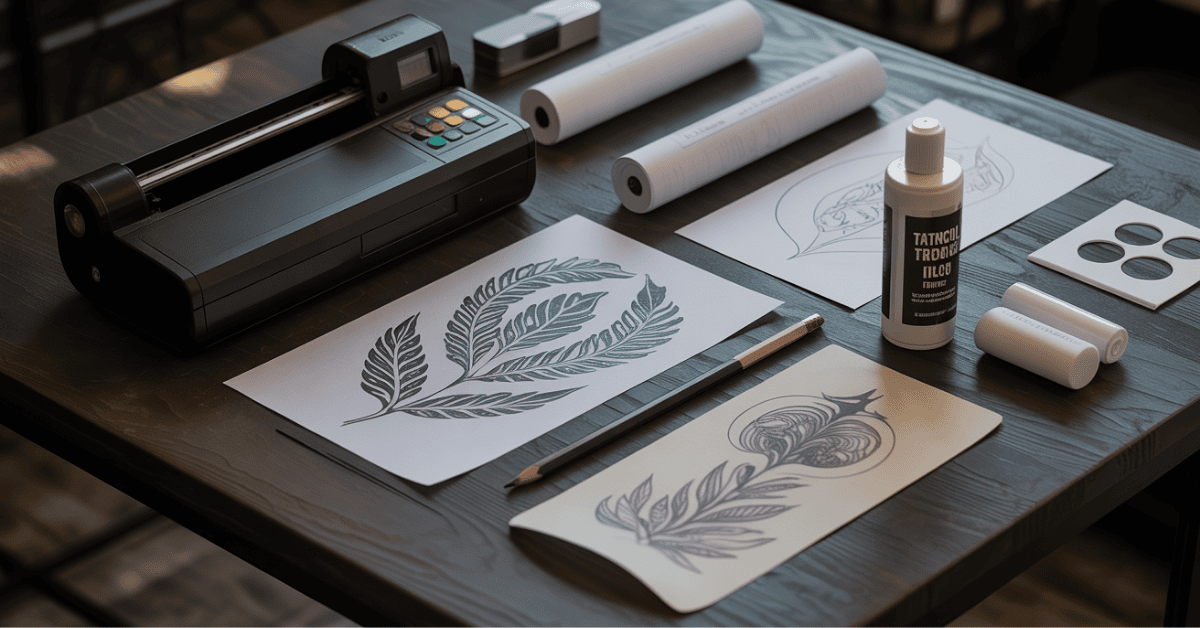
Thermal Printers vs. Traditional Methods
For printing tattoo stencils, you can use thermal printers or traditional methods. Thermal printers are fast and precise, great for pros. Traditional methods take longer but are good for beginners or those watching their budget.
Must-Have Supplies for Beginners
Beginners need the right supplies. This includes stencil paper, transfer medium, and a printer or tracing tools. Also, a tidy workspace helps a lot.
Setting Up Your Stencil Workspace
Having a good workspace is key to success. Make sure it’s bright, clean, and organized. A comfy chair and a big work area help a lot.
With the right tools and a neat workspace, you’ll make tattoo stencils like a pro.
Designing Your First Tattoo Stencil Outline
As a beginner, it’s key to know how to make a tattoo stencil outline. You need to find inspiration, adjust the design for the skin, and consider where to place it on the body. Your design should look good and fit the client’s skin tone and preferences.
Finding Inspiration and Reference Images
Finding the right inspiration is the first step. You can get ideas from nature, art, and cultural symbols. Having reference images helps you make your design better and meet your client’s expectations. Look online, in tattoo books, and on social media for unique designs to use as stencils.
Adapting Designs for Skin Application
After you have a design idea, you need to make it work for skin. This means making the design simple, with clean lines, and fitting the client’s skin tone and type. Think about how the design will look in different sizes and on different body parts.
Considerations for Different Body Placements
Each body part needs a different design and size. For example, designs for the forearm or bicep might be more detailed than those for the ribcage or behind the ear. Knowing this helps you create a stencil that will look great on the client.
Creating Clean, Tattooable Lines
A successful tattoo stencil needs clean, tattooable lines. This means your design should be clear, simple, and without extra details that could mess up the tattooing. Practice making clean lines by keeping your designs simple and bold.
| Design Aspect | Consideration | Tip |
|---|---|---|
| Line Thickness | Ensure lines are bold enough for tattooing | Use a fine-tip pen for detailed work |
| Design Simplification | Simplify complex designs for clarity | Remove unnecessary details |
| Body Placement | Adjust the design according to the body area | Consider skin type and area curvature |
By following these tips and practising, you’ll get better at creating tattoo stencil outlines. This will make your clients happy and improve your tattooing skills.
Digital Methods for Creating Tattoo Stencil Outlines
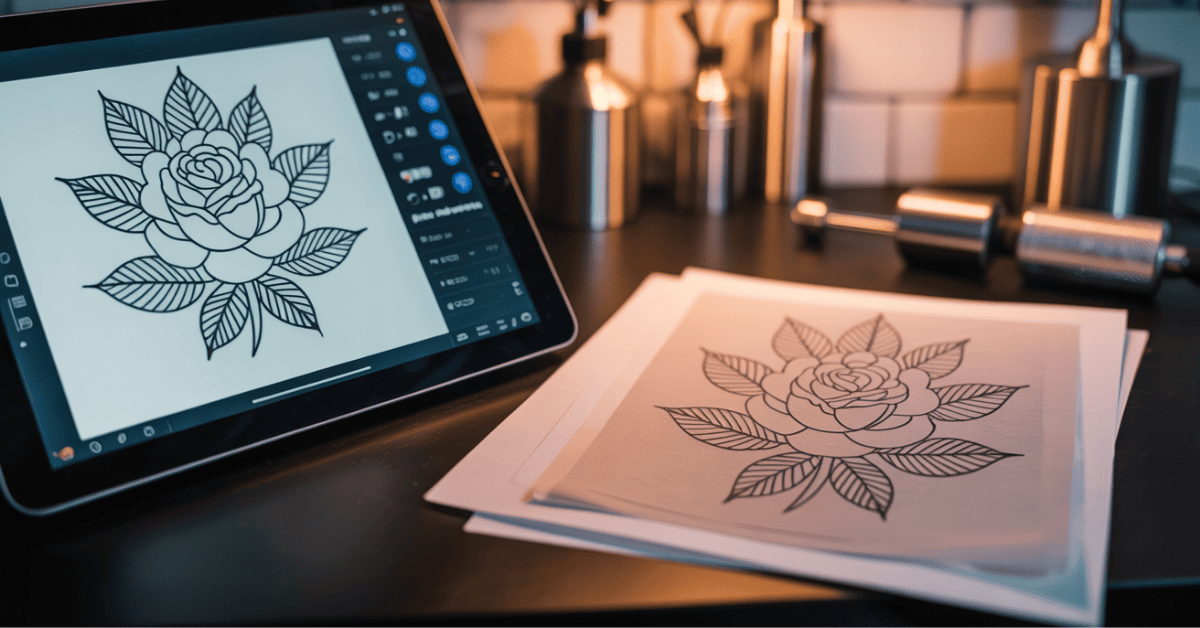
Digital methods for making tattoo stencils are precise and flexible. They offer more than traditional methods. With the right software, you can make high-quality stencil outlines for tattooing.
Best Software for Tattoo Design in 2025
In 2025, the top software for tattoo design includes Adobe Illustrator and Procreate. These programs have advanced features like vector graphics and layer management. They help in creating detailed designs.
Tablet Drawing vs. Computer Design
You can design tattoos digitally with a graphics tablet or a computer. Tablet drawing feels more natural, while computer design is more precise. Your choice depends on what you prefer and how comfortable you are with the technology.
Converting Photos to Stencil-Ready Outlines
Digital design lets you turn photos into stencil outlines. Adobe Photoshop is great for this. You can adjust the image’s contrast and clarity, then apply filters to make a clean outline.
Saving and Formatting Your Digital Designs
After making your stencil outline, save and format it correctly. Most design software lets you export files in formats like JPEG or PNG. Make sure your file is at the right resolution and size for printing.
Traditional Hand-Drawing Techniques for Tattoo Stencils
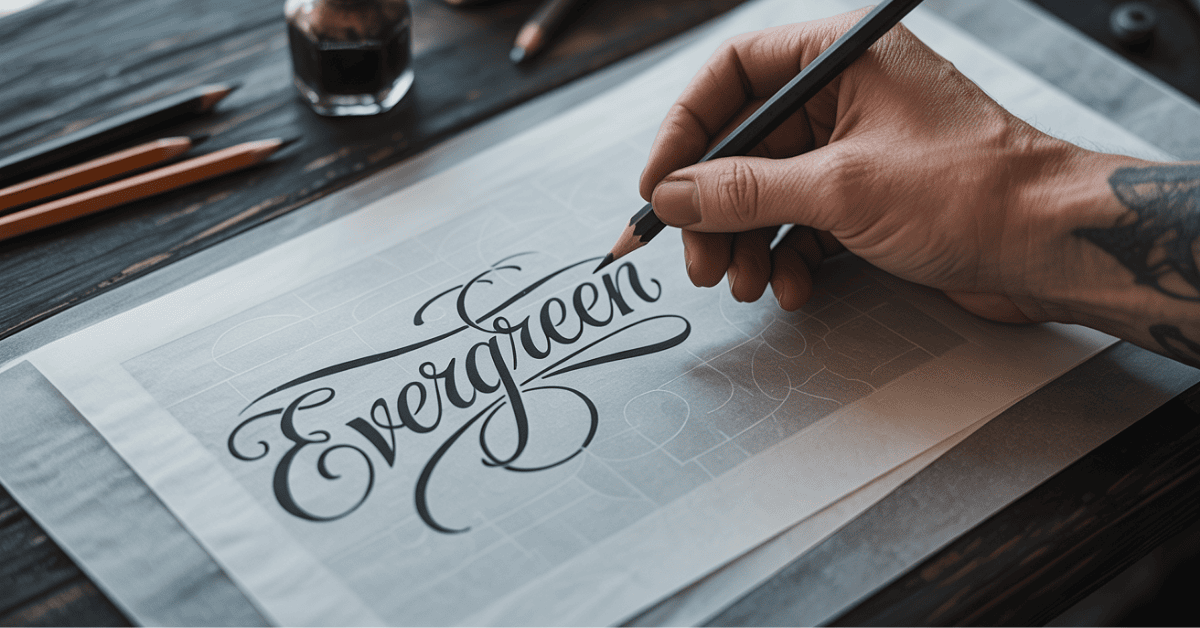
Hand-drawing tattoo stencils requires skill, creativity, and detail. These traditional methods add a personal touch that digital tools can’t match.
Tracing Methods for Non-Artists
Tracing is great for those who aren’t sure about drawing. You’ll need tracing paper, a pencil, and a light box or a bright window. Place the design under the tracing paper and draw over it. This way, you can make precise stencils without needing to draw well.
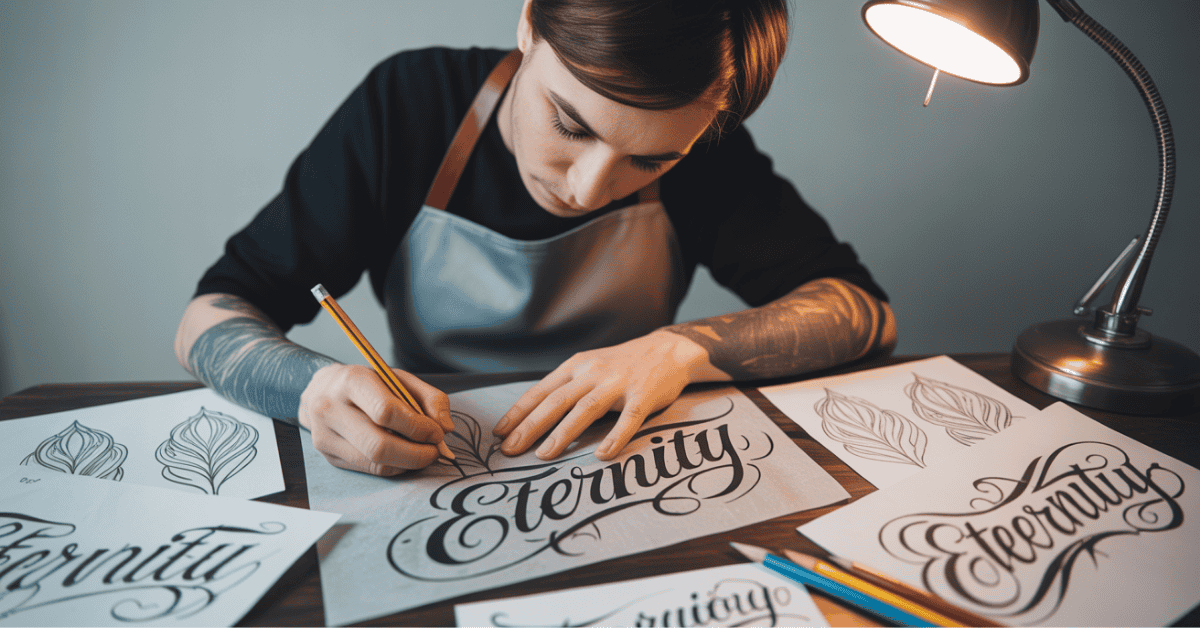
Freehand Drawing Tips for Stencil Creation
If you’re good at drawing, freehand techniques let you be more creative. Start by lightly sketching your design with a pencil. Then, refine the lines and use a fine-tip pen for clean lines. Remember, practice makes better, so don’t worry about mistakes at first.
Common Mistakes to Avoid When Drawing Stencils
When drawing stencils, it’s easy to make mistakes. These can include uneven lines, wrong proportions, and too much detail. To avoid these, take your time and double-check your work. Using a grid or tracing paper can help you stay accurate.
Refining Your Hand-Drawn Designs
After you’ve drawn your stencil, refine it by cleaning up the lines and making adjustments. You can use digital tools to edit or keep working on it by hand. The goal is to make a clear, precise stencil that looks good on the skin.
| Technique | Description | Skill Level |
|---|---|---|
| Tracing | Using tracing paper to replicate a design | Beginner |
| Freehand | Drawing directly without a reference | Advanced |
| Grid Method | Dividing the design into sections for accuracy | Intermediate |
By learning traditional hand-drawing techniques, you can make unique tattoo stencils. These will show off your artistic talent.
The Complete Tattoo Stencil Outline Guide for Beginners
Creating a tattoo stencil outline is a detailed process. It starts with designing and ends with testing the stencil. As a beginner, knowing this process is key to making great tattoos that clients will love.
Step-by-Step Process from Concept to Final Stencil
To make a tattoo stencil, follow a clear path. Begin by thinking about your design. Consider what the client likes and where on their body it will go. You can use software or traditional drawing to get your design right.
Then, make your design ready for a tattoo. This means simplifying it into easy-to-follow lines. These lines will help the tattoo artist do their job well.
Sizing and Scaling Your Designs Correctly
Getting the size and scale right is very important. Your design must fit the client’s body perfectly. Use precise measurements to make sure your design is the right size.
| Body Area | Recommended Design Size |
|---|---|
| Arm | 5-7 inches |
| Back | 10-15 inches |
| Leg | 8-12 inches |
Adding Detail Without Overcomplicating
When adding details, find a balance. Too many details can be too much, while too few might not be interesting.
Use bold lines for the main parts of your design. Then, add subtle shading to give it depth without making it too complex.
Testing Your Stencil Before Application
Test your stencil before applying it to the client’s skin. This ensures it’s accurate and clear. You can test it on a similar surface or use a stencil testing sheet.
By following these steps and focusing on size, detail, and testing, you can make sure your tattooing process goes smoothly. Remember, the more you practice, the better you’ll get. Keep working on your skills to achieve the best results.
Printing and Transferring Your Tattoo Stencil
Printing and transferring your tattoo stencil is key. It needs precision and the right techniques. This step is vital to get your design right on the client’s skin.
Thermal Printer Setup and Troubleshooting
Thermal printers are great for tattoo artists because they’re efficient and produce high-quality prints. To set up your thermal printer, use the right thermal paper and follow the manufacturer’s settings. Issues like blurry prints or misaligned designs can be fixed by cleaning the printer head or adjusting the print density.
Tips for Thermal Printer Maintenance:
- Regularly clean the printer head to prevent clogging.
- Use high-quality thermal paper designed for tattoo stencils.
- Adjust print density to achieve the optimal stencil quality.
Alternative Printing Methods for Home Use
Not all tattoo artists have thermal printers. So, they use manual tracing with transfer paper. While not as precise, with practice, you can get high-quality stencils.
Manual Tracing Technique: Place the transfer paper on your design, trace the outline with a pencil or pen, and then transfer the traced design onto the client’s skin using a suitable transfer medium.
Transfer Paper Options and Their Pros/Cons
There are different transfer papers with varying quality and ease of use. Knowing the pros and cons helps you pick the best one for you.
| Transfer Paper Type | Pros | Cons |
|---|---|---|
| Thermal Transfer Paper | High precision, quick results | Requires a thermal printer, which can be expensive |
| Manual Transfer Paper | Cost-effective, accessible | Time-consuming, may lack precision |
| Stencil Paper | Durable, suitable for intricate designs | Can be messy to work with, requires specific transfer mediums |
Creating Reusable Stencils
Creating reusable stencils is cost-effective and efficient. It’s great for designs you use often. With the right materials and techniques, your stencils can last for many uses.
Mastering stencil printing and transferring improves your work quality and client satisfaction. Whether using thermal printers or other methods, aim for a clear, precise stencil to guide your tattooing.
Preparing the Skin for Stencil Application
Before applying a tattoo stencil, it’s essential to prepare the skin. Proper skin preparation ensures a smoother tattooing process and more precise results.
Proper Skin Cleaning and Preparation
Begin by cleaning the area with antibacterial soap. This gets rid of dirt, oils, and other stuff that might mess with the stencil. Dry the skin well before using any stencil products.
Stencil Stick Products and 2025’s Best Solutions
Stencil stick products help your tattoo stencil stick to the skin. In 2025, top picks include StencilStick and Green Machine. They stick well without irritating the skin.
Working with Different Skin Types and Tones
When working with different skin types and tones, you need to be careful. For darker skin, use a stencil product that stands out. On sensitive skin, choose gentle products to avoid irritation.
Safety and Hygiene Considerations
Keeping things safe and clean is crucial when prepping the skin for a tattoo stencil. Always wear disposable gloves. Make sure all tools and products are clean. This keeps both the client and the tattoo artist safe.
By following these steps, you can make sure the tattoo stencil application is safe and works well. This sets the stage for a great tattooing experience.
Applying Your Tattoo Stencil Like a Professional
Getting a tattoo stencil right takes practice and patience. You need to know the steps to apply it perfectly.
Perfect Placement Techniques
Start by placing the stencil on your skin as planned. Use a gentle touch to adjust it. Make sure it fits the body’s curves and lines well. Take your time, as precision is key here.
Transferring Without Smudging or Distortion
Press the stencil onto the skin gently. Don’t press too hard to avoid smudging or distortion. If using thermal transfer, make sure your equipment is set right.
Fixing Common Application Problems
Even with care, problems like smudging or misalignment can happen. Use a cotton swab or a fine brush to fix small mistakes. For bigger issues, you might need to apply the stencil again.
Maintaining Stencil Visibility During Tattooing
To keep the stencil visible, clean it gently with a gentle cleaning solution. You can also use a barrier cream to protect it.
Techniques for Preserving Stencil Lines
To keep stencil lines clear, avoid harsh chemicals or rough materials. Use gentle products instead to keep the stencil intact.
Working with Fading Stencils
If the stencil starts to fade, reapply or touch it up. This keeps the design clear and accurate.
🔥 Unlock 30,000+ Professional Tattoo Designs Instantly!

Looking for the perfect tattoo design to match your stencil ideas? Don’t waste time searching endlessly—get inspired with the #1 Rated Tattoo Gallery Online!
👉 With Miami Ink Tattoo Designs, you’ll enjoy:
- ✅ 30,000+ Pro Tattoo Designs across 60+ categories (tribal, Japanese, Celtic, and more)
- ✅ Exclusive Tattoo Fonts & Lettering (165+ professional styles)
- ✅ Rare Tattoo Library & Artist Secrets (including Tattoo Bible & Dragon Fever)
- ✅ Hours of Tattoo Videos for inspiration and tutorials
- ✅ Save & Pin Your Favorites with a private design collection
- ✅ 24/7 Access on Any Device
💡 Whether you’re a beginner learning tattoo stencils or planning your first ink masterpiece, this library is your ultimate creative vault.
👉 Get Instant Access Now — Only $9.97/month!
(Cancel anytime, 30-day money-back guarantee)
Conclusion: Taking Your Tattoo Stencil Skills to the Next Level
Learning to make tattoo stencils takes time and effort. By using the tattoo stencil outline guide for beginners from this article, you’re on the right path. Remember, the secret to success is in the details and being open to improving your skills.
As you keep creating tattoo stencils, you’ll find your own style. Feel free to try out new designs and methods. Beginners, remember that beginner’s tattoo stencil tips are key to avoiding mistakes and getting great results.
With regular practice, you’ll get better at designing, printing, and applying tattoo stencils. The path to becoming skilled in tattoo stencil outlines is long but rewarding. With hard work and determination, you can achieve amazing results in your tattoo art.
FAQ
What is the best software for creating digital tattoo stencil outlines?
Adobe Illustrator, Procreate, and Autodesk Sketchbook are top choices. They have tools for designing and editing tattoo stencil outlines.
How do I choose the right transfer paper for my tattoo stencil?
Think about your skin type, design complexity, and detail needs. Thermal transfer paper is popular, but there are other options, too.
What are the most common mistakes to avoid when drawing tattoo stencils by hand?
Avoid uneven lines, wrong proportions, and missing details. Use a steady hand, reference images, and take your time.
How do I prepare the skin for tattoo stencil application?
Clean the skin and remove oils or lotions. Use a stencil stick for better adhesion. Consider your skin type and tone.
What are the benefits of using a thermal printer for printing tattoo stencils?
Thermal printers give high-quality prints and are affordable. They work fast but need special paper and careful handling to avoid smudges.
How do I maintain stencil visibility during the tattooing process?
Apply the stencil correctly and work gently around it. Use a fixative or petroleum jelly to keep it visible.
Can I reuse a tattoo stencil, and if so, how?
Yes, you can make reusable stencils with the right materials and techniques. It’s a cost-effective choice for artists who use the same designs often.
What are the key considerations for different body placements when designing a tattoo stencil?
Body placement matters for stencil design. Different areas have unique skin and shape. This affects design size, detail, and look.
How do I size and scale my tattoo stencil designs correctly?
Measure the skin area and think about design proportions. Use software or manual methods to adjust the design size.


